Home | Presentazione e Curriculum Vitae | Libri Borri | Abbiamo lavorato per...
| Contatti | Consulenze | Articoli | Software download |
| Personal web site - In English |
PlaceImages 1.0The helpful utility for Adobe InDesign CS and CS2
|
||
|
This program is designed to automatically place images inside a text flow in an Adobe InDesign CS or CS2 page. Not compatible with InDesign CS3 (Download instructions, at the bottom of this page.) The program, asks the user to choose the folder containing the images to be placed inside the InDesign file in its text flow. The image name is searched throug the InDesign file and, if found, is replaced by the image itself. This version can also add a drop shadow and/or a stroke to the image. The Professional version offer more options related with the imported image. If you find this program useful, you can make a donation to the author. |
Questo programma è studiato per inserire automaticamente immagini in un testo di un documento di Adobe InDesign CS o CS2. Non è compatibile con InDesign CS3 (Per prelevare il programma, vai a fine pagina.) Il programma chiede di indicare la cartella che contiene le immagini associate al documento di InDesign quindi ricerca nel testo del documento i nome delle immagini. Questi saranno sostituiti dalle immagini. Questa versione consente di aggiungere un filetto e/o un'ombra all'immagine. La versione Pro offre un numero di opzioni nettamente superiore e un maggior controllo anche di altri parametri. Se questo programma ti è stato utile puoi fare una donazione all'autore che apprezzerà! |
|
|
|
|
|
How to use it |
Come utilizzarlo |
|
|
First of all, copy the PlaceImages script inside the scripts folder of Adobe InDesign. It's located inside the "Preset" folder available in the InDesign CS folder. The script will be available trough the "Script" palette as visible in the following screenshot. |
Innanzitutto, occorre mettere lo script nella cartella "Script" di Adobe InDesign CS. È disponibile nella cartella "Predefiniti" dentro la cartella di InDesign CS. Lo script sarà disponibile nella palette "Script" come visibile nell'immagine seguente. |
|
|
|
|
|
 |
||
|
|
|
|
|
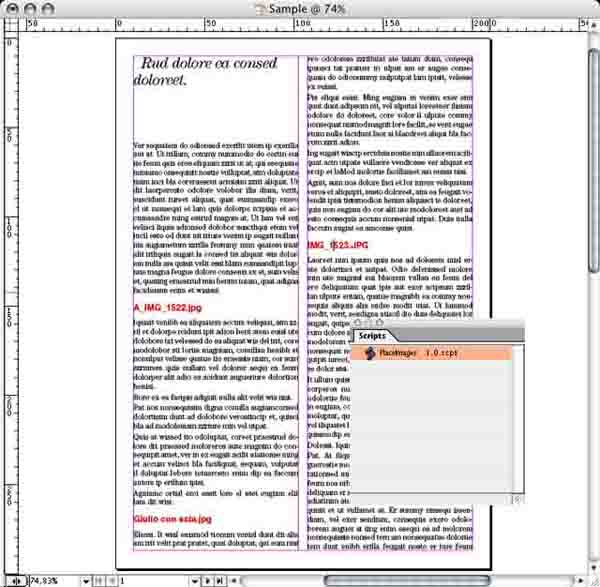
Running the plugIn will place the images inside the text flow exactly instead of the images names. The images names can be written in any style, any color and any way you like. Image names can contain any character, including spaces, commas, slashes and so on. With the file open, double clic the script "Place Image" inside the "Script" palette. The script will ask to choose the folder where the images are located. |
Facendo partirte il plugIn si inseriranno le immagini lungo il testo al posto del loro nome. Il nome delle immagini può essere scritto con qualsiasi stile, colore e metodo. I nomi delle immagini possono contenere qualsiasi carattere compresi spazi, virgole eccetera. Con aperto il documento, fare un doppio clic sullo script "PlaceImage" nella palette "Script". Lo script chiederà di indicare la cartella contenente le immagini. |
|
|
|
|
|
 |
||
|
|
|
|
|
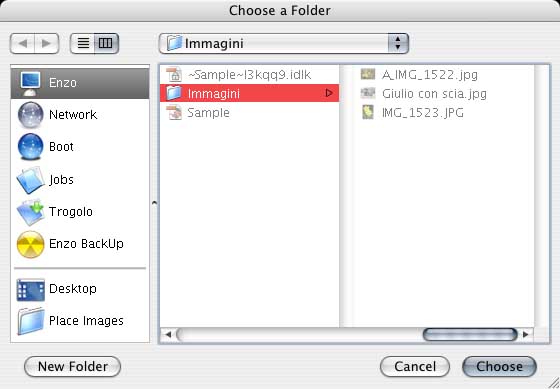
Select the folder containg the image then get ready to set other options for the images when placed inside your InDesign CS file. |
Indicare la cartella contenente le immagini quindi impostare le opzioni per le immagini che saranno inserite nel documento di InDesign CS. |
|
|
|
|
|
 |
||
|
|
|
|
|
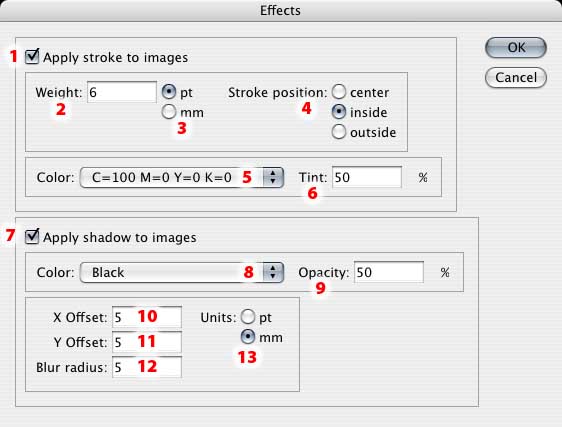
Set the desired options: 1 - Apply or not the stroke around the image |
Imposta i valori desiderati: 1 - Applica o meno un filetto attorno all'immaigne |
|
|
|
|
|
|
Clic "OK" to proceed inserting the images. |
Fare clic su "Ok" per inserire le immagini. |
|
|
|
|
|
 |
||
|
|
|
|
|
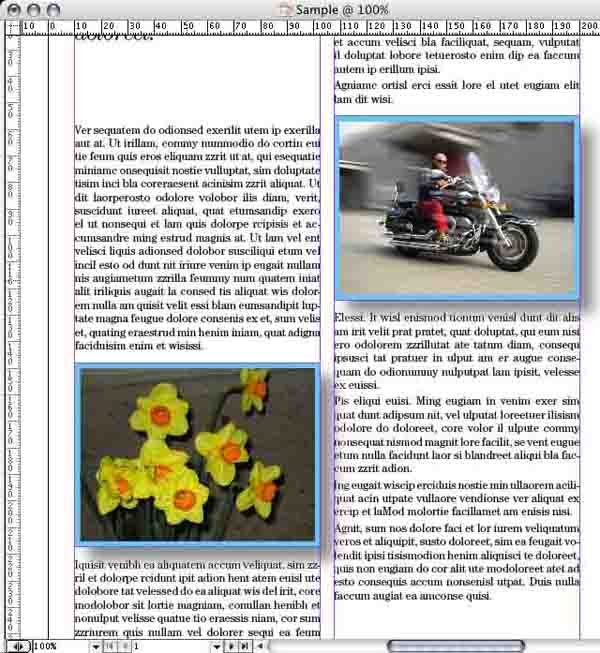
Well, work is completed! Enjoy your publication almost ready in a hurry! |
Il lavoro è stato completato. Ammira la tua pubblicazione che, in un lampo, è pressoché pronta per la stampa. |
|
|
|
|
|
|
If you want to download the version of the script here depicted, download it now. In case you want the professional version, contact me. The Professional version is Donationware; this mean "if you like it and you want make a donation, I'll be very very happy! :-) |
Se vuoi, puoi prelevare ora lo script nella versione qui illustrata. Se desideri la versione PRO, contattami. Se apprezzerai la versione PRO e vorrai fare una donazione, sarò ben lieto di accettarla! :-) |
|